I’ve been using the Mac for years, but recently, I realized that a Mac wasn’t going to cut it anymore.
I rely on three Macs daily: an iMac for home, an Intel MacBook for work, and an M1 MacBook for mobility. However, with the shift to Apple Silicon, my Intel-based Macs are now showing their age. As my demands grow with gaming, content creation, and AI experimentation, I’ve realized the need for better hardware. While the M1 excels in machine learning and AI, it still needs to improve graphics performance and cost-effectiveness compared to mid-range Nvidia or AMD cards.
| My Mac | Specification |
|---|---|
| MacBook Pro 15-in. (Intel, 2018) | 2.9GHz 6-Core Intel Core i9 / Radeon Pro 555X 4GB / 256GB / 16GB |
| MacBook Pro 13-in. (M1, 2020) | Apple M1 / 512GB / 8GB |
| iMac 27-in. (Intel, 2020) | 3.1GHz 6-core Intel Core i5 / Radeon Pro 5300 4GB / 256GB / 32GB |
In pursuit of better performance, I considered upgrading to a Mac with the M2 Pro or M2 Max chip. However, knowing that the PC has many advantages for tasks like gaming and content creation, factoring in the hefty price tag associated with Apple hardware, I decided to build my own PC for the first time.
In addition, the current market condition seems favorable, with a range of upper-mid-range GPUs readily available. The recent release of the GeForce RTX 40 series, with a more stable supply than its 30 series predecessors from years ago, makes this a good time to build my new gear.
This custom-built approach lets me handpick the necessary components and ensures room for future upgrades. Specific cost-cutting strategies can also save me some money. The freedom feels great.
My specifications
Below is a list of components I ended up buying:
- CPU: Intel Core i5-13600K
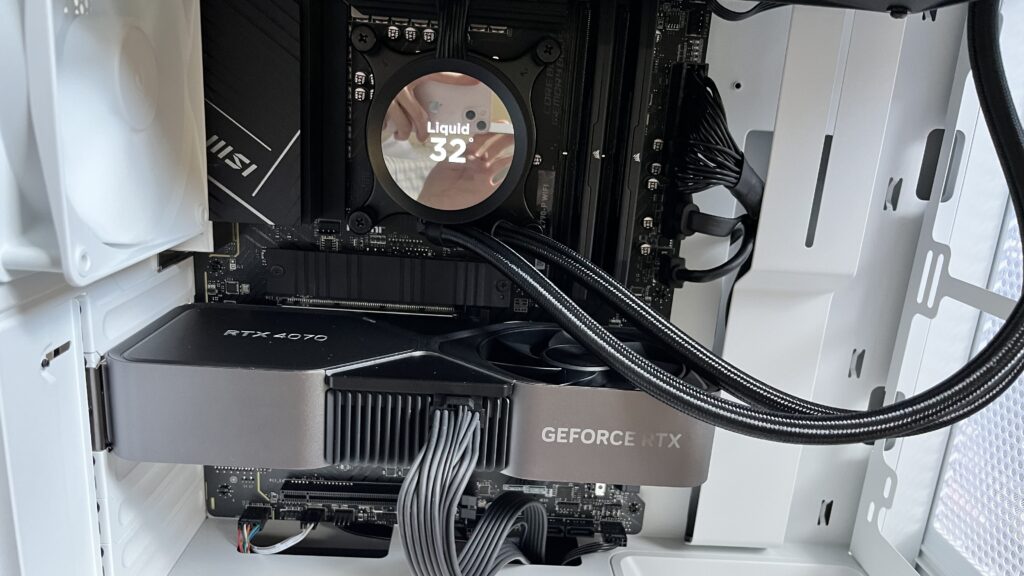
- CPU Cooler: NZXT Kraken 240
- Motherboard: MSI Pro Z790-P WiFi
- Memory: Corsair Vengeance 32 GB DDR5 5600MHz
- Primary Storage: Samsung 980 Pro 1 TB M.2
- Secondary Storage: Samsung 970 Evo Plus 1 TB M.2
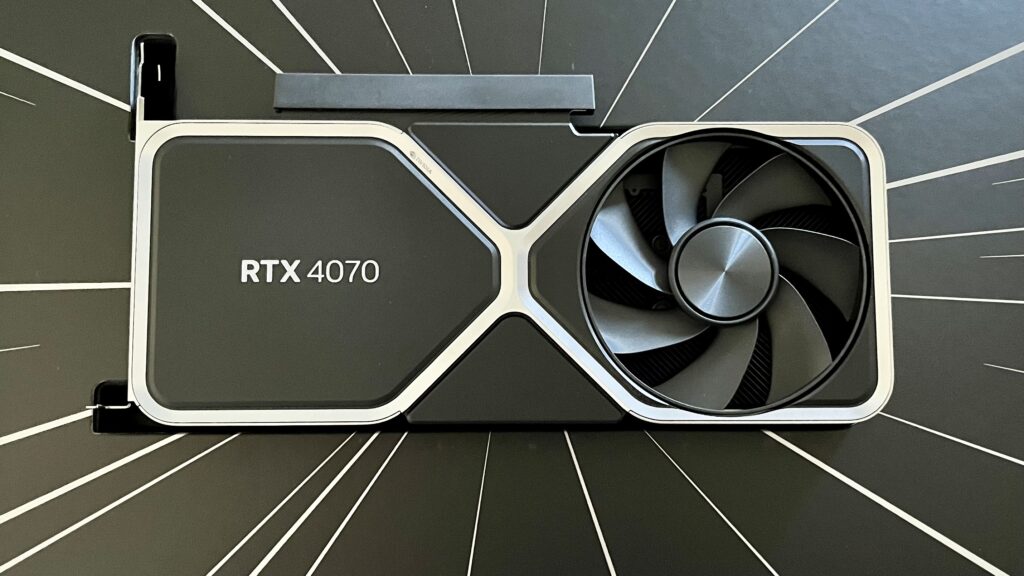
- GPU: Nvidia GeForce RTX 4070 Founder’s Edition
- Case: NZXT H5 Flow ATX Mid Tower
- Power Supply: Corsair RM750e 2023
- Case Fan: NZXT F120P
- Case Fan: NZXT F120P
For the CPU, my initial choice was the i7-13700K, priced at roughly $390 with tax. However, due to delayed shipping and discovering a new American Express offer on Amazon, I canceled that and secured an i5-13600K processor for $271, including tax. Given the slight performance difference between these two processors, saving $100 in the process feels rewarding.
As for the GPU selection, I initially opted for the 4060 Ti but later realized that it might not offer the best value. The 4070 provides a more compelling proposition. With an additional 4GB of VRAM and enhanced performance, the experience is worth the higher price. Moreover, this choice will likely extend the longevity of my setup. I snagged a Founder’s Edition from Nvidia at its MSRP, and it looks awesome.
When selecting a motherboard, I got advice from a friend who recommended ASUS or MSI. Ultimately, I opted for the MSI Pro Z790, which I found on sale. What I like about this motherboard is its room for expansion. With four M.2 slots, I can add up to four internal SSDs in the system. In addition, there are three more PCIe slots after I added the GPU, two of which are full-size. While they have to share bandwidth with other components on the motherboard, extra ports are always appreciated for future expansion.
Building the PC
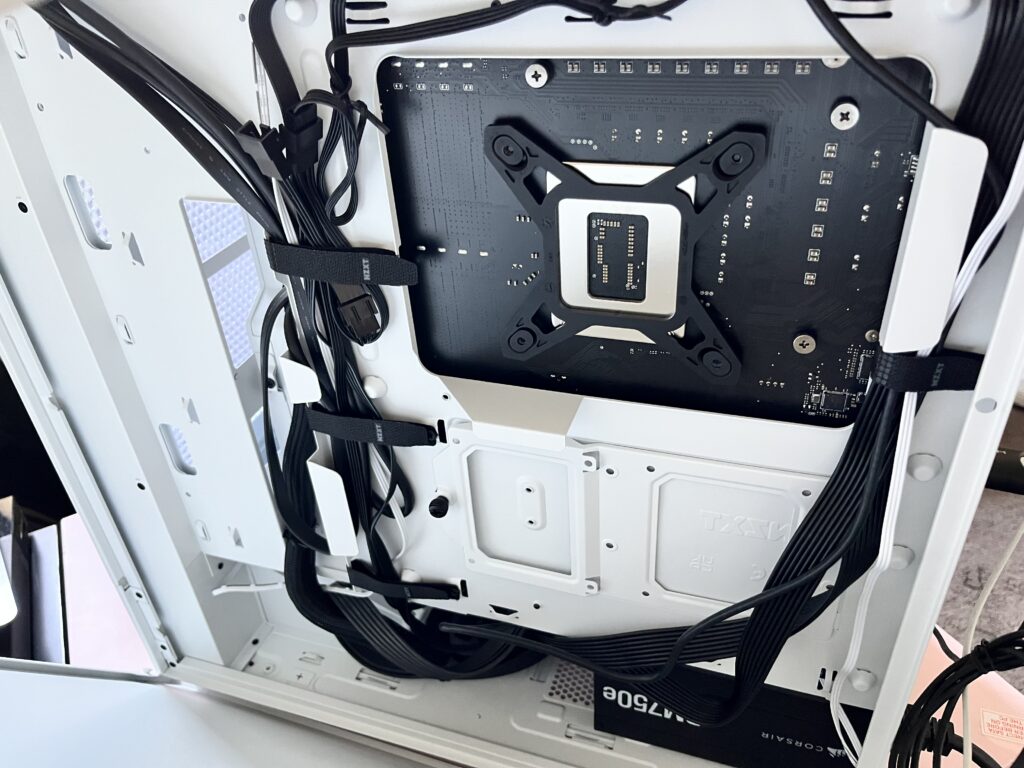
MSI provided an excellent manual, making the installation more straightforward than I thought. Following the diagrams and securing a few screws, the whole process was pretty clear. The more challenging part was neatly managing the cables inside the case. I greatly appreciated my girlfriend’s help in tackling this part of the setup.
The front of my PC case features a see-through glass panel, and you might have noticed the absence of RGB lighting. RGB lighting is distracting, and I prefer a more toned-down look without constant glowing effects. It’s definitely not because I am broke.
After snapping some pictures, I installed two more fans behind the front panel (notice the empty space on the right-hand side of the image) to enhance airflow. These fans are black, adding a touch of balance and refinement to the overall look of the build.
Final Thoughts
After putting my new PC to test for a few days, it seems like I might have gone a bit overboard with the cooling solution. With the liquid cooler and a grand total of 7 fans, my CPU remains cool most of the time, rarely breaching 45ºC, regardless of the game or task I throw at it. Meanwhile, the GPU fan only spins up when I play extremely demanding games with all the graphics settings cranked up to the max.
Leave a Reply