QIIME 2 is an open-source bioinformatics software package that allows researchers to analyze and visualize microbiota, particularly those derived from high-throughput DNA sequencing technologies. It is an essential tool for studying the composition, diversity, and function of the microbiota, and has been widely used in practice.
One of the key feature of QIIME 2 is its plug-in architecture, which allows research to extend its capabilities. This means that QIIME 2 is expandable, making it an indispensable tool for anyone working in microbiome research.
However, installing QIIME on an Apple Silicon Mac can be difficult because many of the dependencies required are not yet compatible with Apple’s new M1 and M2 chips. When you install QIIME natively on an Apple Silicon Mac, you may encounter errors or other issues related to incompatible dependencies.
While dependencies are slowly made compatible, research stuff can’t wait. In the past, my solution was to use a virtual machine running on the Mac, which would allow you to install QIIME and its dependencies in a different environment that is compatible with the software. But there is a better option now.
Docker vs VirtualBox.
Using Docker is often considered a better option than using a virtual machine (e.g. VirtualBox) for many reasons. Since Docker is a containerization platform, it allows the user to run applications in an isolated environment. Thus, it is very easy to manage and deploy applications, as each Docker image includes all of the dependencies and libraries required to run the software. In contrast, VirtualBox is a virtualization platform. While this can be useful in some cases, virtual machines can also be more resource-intensive than Docker containers.
Another advantage of Docker is that it uses less disk space and memory than VirtualBox, making it perform better. Additionally, Docker containers are portable and can be transferred between different environments, while virtual machine are tied to the host system on which they were created.
With Apple Silicon, things can be worse too. These include the overhead of emulation, the differences between the ARM and x86 architectures, and the limitations of virtualization software on Apple’s chips.
Overall, I would prefer using Docker because it is more efficient, faster to set up, easier to use, and provides a more flexible environment for running applications.
Installing Docker and download QIIME 2 via command line
You can download Docker Desktop directly from their official website. Or, if you like to manage everything with a package manager, you can install Docker with the following command:
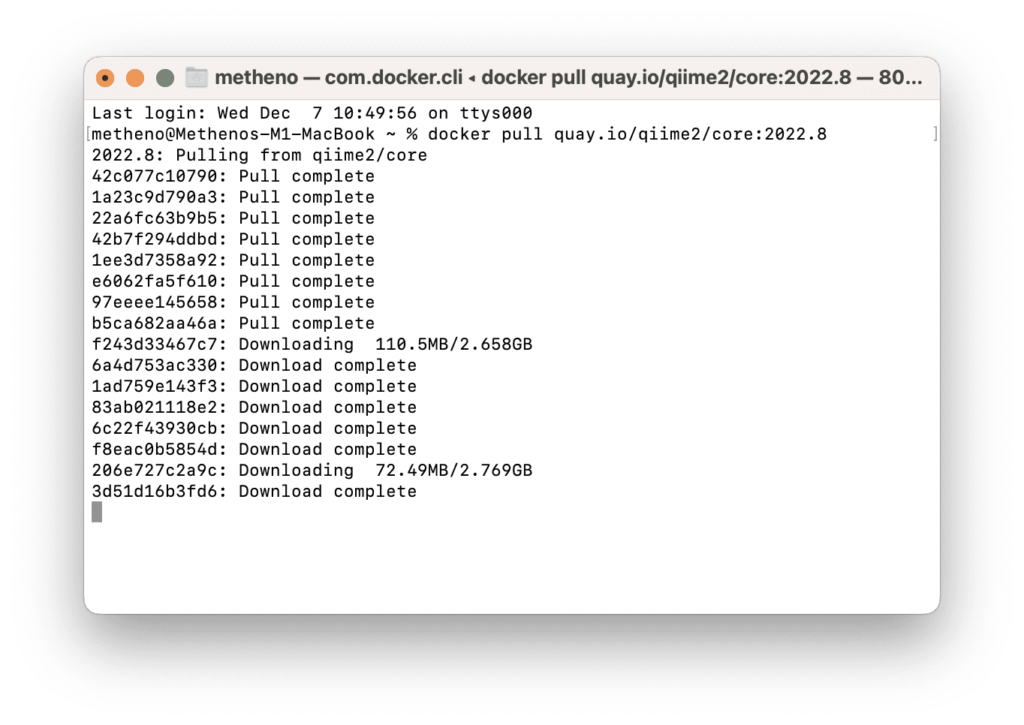
% brew install --cask dockerThen you can download QIIME 2 with the following command:
% docker pull quay.io/qiime2/core:2022.8The size of the official image for QIIME 2 is huge. My usual seat in my lab has the worst internet ever, so I had to go to the freezer room to get a faster download.
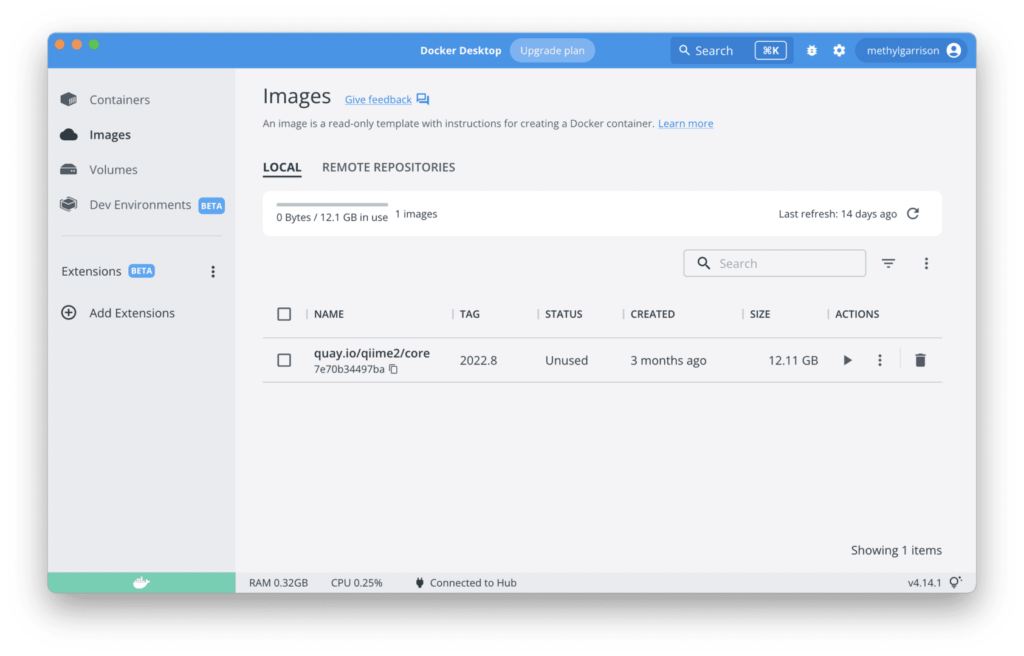
Since we have Docker Desktop installed, we can look for it in the Image section.
Confirming the installation of QIIME 2
Move to your working directory and run the following command:
% cd qiime-test
% docker run -t -i -v $(pwd):/data quay.io/qiime2/core:2022.8 qiime
The -v flag creates a bind mount volume that connects the containers directory to the host machine’s directory. Docker divides the host path from the container path using a colon, with the host path always coming first.
Here, we connected /data in the container to the host $(pwd), which is our current working directory qiime-test.
If you see QIIME 2 help after running this command, you are good to go.
Using QIIME 2 in a docker
To use QIIME 2 like how we used to in a native installation, we can utilize the docker exec command. This command allows the user to run a command in a running container.
First, start a container called qiime2. The name does not matter as long as it’s easy to remember for you.
% docker run --name qiime2 -dit -v $(pwd):/data quay.io/qiime2/core:2022.8 bashThis command will create a container named qiime2 and start a Bash session. The -d flag allows the container to run in detached mode, while the -t and -I flags allow it to run in foreground mode.
Then, we can create a new Bash session in the container qiime2. This command took a while to run so be patient.
% docker exec -it qiime2 bash
(qiime2-2022.8) root@5015b2d7c45b:/data#
Note how I started a Docker container and attached the console to the process’s standard input, output, and standard error. From here you can use QIIME 2 in your directory and start your research.
/data directory in your container, but you can also see the same files exposed on your host.Conclusion
Here, I talked about some of the advantages of installing QIIME 2 using Docker over VirtualBox. It was very fast to set up and was extremely easy to use. With docker exec, QIIME 2 works just like how you expect with a native installation. You also have real-time access to the files QIIME generated for you. In addition, I think it’s very nice to have all the miniconda mess locked up in a Docker container. You no longer have to deal with conda and all the added complexities of incompatible dependencies.
Leave a Reply